Questions
and answers
- How can I stop my brushes drying out?
The best way to stop your brushes drying out is to wash them in the relevant cleaning solution (dependent on the filament type and paint type used) and then store the brushes in an air tight box. I personally use the Brush Mate Vapour Box. Some decorators prefer to leave their brushes soaking in a cleaning solution between jobs to keep the brushes from drying out, however this can damage the bristles and cause them to become misshaped. Before placing your brushes in you vapour box it is important to always check the recommended storage techniques stated on the packaging.
- What protective clothing should I wear when spraying?
When spraying it is vital you wear the correct PPE protective clothing and take the necessary precautions to ensure you and your client do not inhale any hazardous substances. You should always be aware of who else is going to be within close proximity of the area you are spraying and ensure they are in the correct protective clothing.
When I carry out any spraying project I ensure I’m wearing the following; a trade rated respiratory mask, prep Safety Goggles, prep Latex Disposable Gloves and a disposable work suit to protect my clothes. It is important to remember to always follow the manufactures guidelines with regards to PPE and protective equipment. Carefully check the safety data sheets as these will specify any precautions needed to ensure safety is maintained.
- How can I ensure my paint brush bristles don’t come out in my paint?
There is not one single thing you can do to ensure your bristles don’t come out of your paint brush. Bristle loss it typically down to the brush you are using and how the bristles are secured in the ferrule. If you use the Kana Professional Synthetic Brushes you will see a dramatic reduction in bristle loss compared to other synthetic brushes.
- Is cutting in using masking tape worth the time it takes to set up?
Using the masq Painters & Masking Tapes is certainly worth the time it takes to set up when cutting in as the lines you can achieve are truly outstanding. Using masking tape creates a much smoother finish as well as sharper lines giving a professional looking finish.
When using masking tape it is important to ensure you have selected the correct tack for the surface you will be working on otherwise you could end up damaging your wallcovering.
- Once I have hung my wallpaper it seems to slip down from the top of the wall, why is this?
If the top of the wallpaper keeps coming away from the wall this is usually because it hasn’t been smoothed down enough for it to properly adhere to the wall. If I notice the paper is dropping down from the top I usually brush out the paper again from the bottom to the top and then do my adjustments to match the pattern back up again. It can be frustrating when you have spent time matching up the pattern, so always ensure you smooth out the whole strip of wallpaper from top to bottom properly allowing it to adhere to the wall.
- How would you suggest I should go about painting my skirting boards?
Assuming the skirting boards are already painted you will need to prepare them accordingly. First start off by filling any holes and allowing the appropriate time to dry. Once dry you can then begin your sanding back to provide a key for the new paint to adhere to.
Once sanded clean down and apply caulk if necessary and allow to dry. Then proceed to paint using your desired woodwork paint. As with everything in decorating, the lifespan of your work will depend on the preparation you undertake before painting. In some cases gripper primers and knotting solution may be necessary so be sure to check the manufacturer guidelines to ensure your paint is compatible.
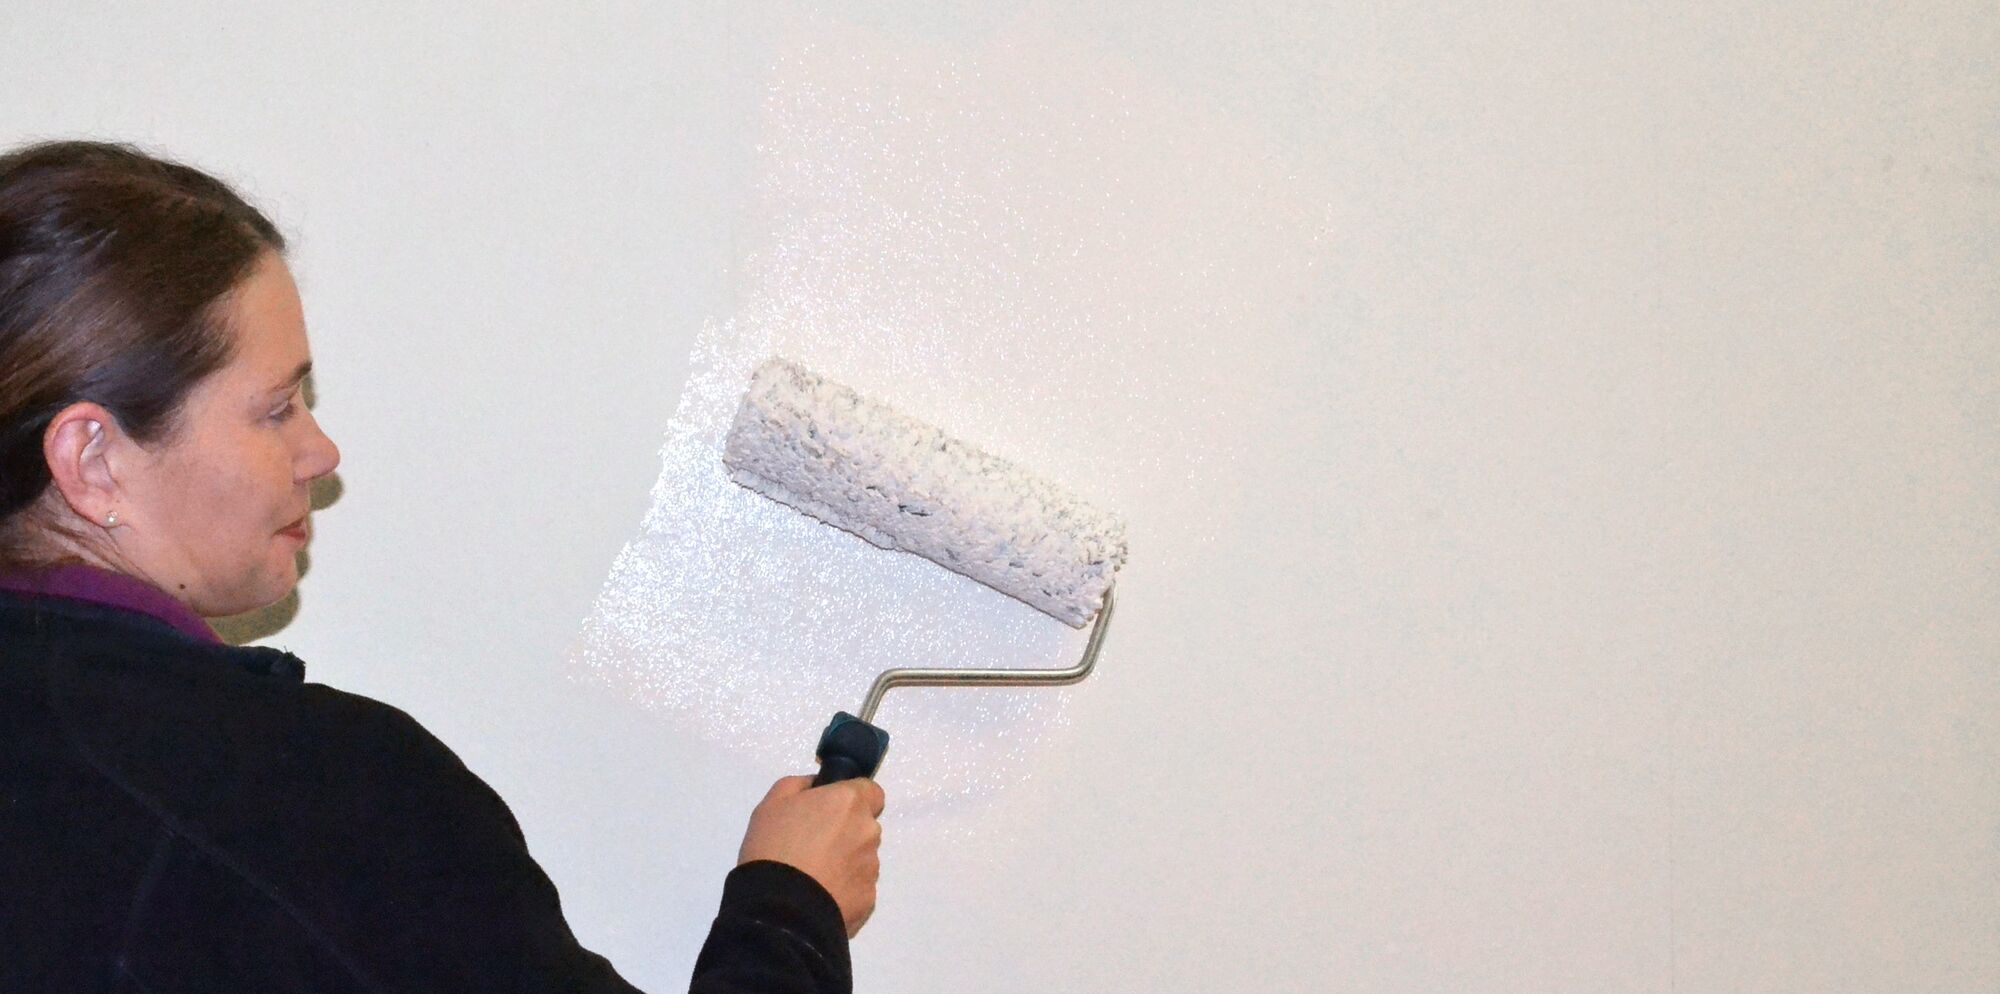
- What causes lap marks in dried paint?
Lap marks or tramlines in emulsion is normally caused by two things. The first is paint overload and the paint not being rolled out enough. If you are heavy handed and load the wall with a lot of material ensure you go over it to distribute evenly.
The second reason is usually uneven handling of the roller and cage. If too much pressure is applied to one side it can cause the paint to disperse unevenly leaving the dreaded lap marks. It is always best to stay central with the roller, don’t apply to much pressure and allow the roller head to do the work for you.
- Why is it whenever I hang wallpaper it gets bubbles and lumps under it? How can I prevent this?
When it comes to hanging wallpaper it’s important that the wall has been prepared accordingly, whether that would be cross lined or sized. The reason why you might be getting bubbles underneath your wallpaper is that air has been trapped between the wallpaper and the wall. For the wallpaper to lay flush against the wall, it is important that the air needs gets removed.
Use the Kana Premier Wallpaper Hanging Brush, start centrally on the wall and brush out the paper taking the air bubbles to the side of the paper so that they can escape. Repeat this process until all bubbles and lumps have been successfully removed.
- What is the best way to estimate paint quantity?
The best way to estimate paint quantity is to start by measuring the room you are planning to paint. Let’s say the room in which you are painting is 4m x 4m this gives an overall 16 square meters. Manufacturers stipulate the coverage of paint on the paint can so make sure to check this prior to purchase.
For example (not accurate): Using a regular 2.5ltr Vinyl Matt Emulsion will cover 12-14sqm per litre and would enable you to apply a second coat. A 2.5 ltr tin should cover approximately 30sqm. Be aware that colour variations can appear in different paint tins, therefore always buy extra paint.
- Why is the exterior paint on my wall going mouldy? How can i prevent this from happening?
Exterior paint going mouldy is normally a sign of contamination where the paint is not being able to prevent the mould growth. To stop this from happening make sure to always prepare the walls properly before applying the necessary amount of stabilising solution (depending on the substrate) and the top coats. Always check your manufacturers product guidelines. To prevent mould growth after top coat has been applied, clean the surface regularly using a cleaning solution or lock the colour in by using a water seal product.
- How to choose the right roller pile length?
When choosing the corretct pile length you need to think about what surface you are going to paint. I would choose a short or medium pile roller for a smooth surface. A rough cast exterior requires long pile as the pile should be long enough to make direct contact with the substrate allowing it to work in between gaps to provide the best finish possible.
- How should I store my brushes and rollers once I have finished using them?
It is important to look after all of your decorating equipment to ensure you achieve the maximum life and quality from them. Every decorator has their own ways of looking after their equipment. Some people simply wrap them in cling film awaiting the next use and others store them in a box.
Personally I choose to clean rollers and brushes out thoroughtly and store them dry. I use a conventional storage tub, storing brushes in one and rollers in a slightly larger tub. In warmer seasons I leave my brushes suspended in clean spirit to stop them drying out. If rollers are correctly cleaned the pile should never bind and stay useable for longer.
- Do I need to prime my walls every time I freshen them up with another coat of paint?
It is not always necessary to prime walls every time you carry out a freshen up. In most cases a good rub back using the prep range cleaning products is adequate and provids the necessary base for the new paint to adhere to. Priming may be required if you have used filler or any stain block as they can leave surfaces feeling a little rough. Always check the manufacturer guidelines when using such products as they will specify the correct procedure.
- How to prime walls?
Before starting any decorating project it is important to establish whether the substrate you wish to paint requires any priming or preparation. Make it a habit to check the manufacturer guidelines of the material you will use as they will give clear instructions on how to prime and prepare surfaces. Many decorators have different ways of priming surfaces such as using a mist coat or a primer sealer.
For example, fresh plaster requires sealing prior to painting as it can be very porous and applying a vinyl product directly on to plaster will more than likely create a skin, not allowing the paint to soak in accordingly. A mist coat allows the plaster to breathe and enables you to apply your top coats directly without issues.
- How to paint an exterior window frame?
When preparing for any exterior project the first thing you need to do is ensure the conditions are appropriate for the equipment and decorating tools you are going to use. Some materials are not meant to be applied above or under certain temperatures. Always check the manufacturer guidelines before starting.
Assuming you have already checked the guidelines and your window has already been painted I would approach the exterior wood in the following way:
Firstly, prep and rub back the existing surface to provide a key and help with paint adhesion. Depending on the material you are covering a gripper adhesion primer may be necessary or an external undercoat. Following successful application of undercoat, next prep the surface by filling any holes and other detailing such as scraping existing paint from any glass. Once all the appropriate prep work has been carried out you should then be able to apply the top coats. Ensure you follow guidelines on recoat times as rushing in colder conditions could lead to bloom with an entrapment of moisture discolouring the surface. If you’re not confident in cutting in try one of masq's professional painters or masking tapes such as the Superior Painters Tape which is UV resistant for up to 60 days.
- Best way to hang wallpaper?
Assuming all surfaces have been prepared and sizing has been completed, I would advise to work out how your paper will sit and fall. By this I mean where the pattern will lay on the wall. eg. Whether the pattern repeat at eye height or centrally. Once you have worked this out it’s normally best practice to dry cut all of your drop lengths prior to pasting, making for easier handling and faster application.
After you have worked this all out use either a plumb or a laser level to ensure the first drop is straight and hang accordingly once pasted. Regularly check your paper is level to avoid slanting as this will affect the overall finish. Follow manufacturer guidelines on preparation and soaking times, and ensure you have a wet sponge ready to clean off any excess paste that may get onto the face of your paper.
- How to wash walls?
Washing walls is good practice for any diy or professional decorator. Cleaning the surface of any contaminations prior to decorating is always ideal especially as unwashed walls can cause unforeseen issues later on when applying wall coverings. When washing walls I tend to use the Beeline Sugar Soap or a decorating cleaning agent. Firstly I sand the walls back ensuring an even surface and then apply the sugar soap accordingly. Apply the sugar soap using a wet cloth that has been soaked in it and allow to fully dry before applying any other material on top.
- I am going to be working on a masonry project what products would you recommend using?
With any masonry project it is essential to ensure all objects that are in close proximity of where you will be working are covered as due to working outside wind can cause overspray. Therefore, I suggest using dustsheets for furniture, stairs, etc. and protective tape for any downpipe or drainage hardware that cannot be removed.
Assuming the surface you are working on has been prepared and stabilised where necessary, I’d recommend the following as a masonry kit:
- 15Ltr paint scuttle
- Dualon long pile roller heads in various sizes
- Adjustable roller frame
- Adjustable roller long reach handle
- Masonry brush
- 4 inch roller frame for smaller areas
- 4 inch Dualon long pile roller head
If you have prepared your area well and have used the above products you can expect a successful project with great end results.
- How to remove wallpaper easily?
To remove wallpaper easily and effectively you must first obtain what type of wall covering has been used and which removal method is suited - a wallpaper steamer or scoring tools.
If using a steamer there are many tang scrapers to assist with the removal of wallpaper once the adhesive begins to melt and lift. Be careful with the amount of heat you expose the wallpaper to as the plaster behind is porous and if exposed to excessive moisture it may cause cracking.
If you choose to use the scoring method run the Tri Scorer Wallpaper Tool gently over the surface making as many incisions as possible. Following successful completion and a fully scored area use a garden sprayer with concentrate solution (of your choice) to spray the paper allowing it to soak in (always following the manufacturer guidelines). This will then begin to breakdown the adhesive behind the paper and allow for easy removal.
- Best way to fill holes and cracks in walls?
Before you start filling holes and cracks it is important you determine the cause as the method for fixing may vary.
For this example, I will be using a hole made from drilling, dependant on the depth you may need to check the filler you’re using (but assuming this has already been selected). Using a Tang flexible Filling Knife scoop the desired amount of filler out and press firmly into the hole flexing the knife, allowing the filler to fill the entire hole properly. It may be possible to remove excess at this stage saving time on rubbing it back with sandpaper later.
Depending on the filler or depth you may need to repeat this process again once the filler has hardened. When the filler has dried you may need to use sandpaper to create a smooth finish. With regards to hairline cracks it’s normally best to rake out any loose plaster or substrate prior to filling, this is to prevent reoccurrence of the crack. Simply use the corner of the Tang Multi-Purpose Tool to scrape away any loose or cracked substrate. Fill as above then paint as required.
- How to cut in properly?
Cutting in is an art in itself and one of the most important aspects of any decorating project. Decorating is all about lines and if you can achieve straight sharp lines you’re onto a winner. To achieve a high standard of finish there are many things to take into consideration but the most important is your choice of brush.
Personally I like to use the Kana Oval Synthetic Brush however, you can use the Kana Synthetic Slant Brush for this as well. It’s down to personal preference. Once you have selected your brush, apply most of the paint below the line you wish to cut. Turn the brush sideways picking up paint on route and use a side to side action allowing the bristles to drag in the line. Normally you would cut twice so if you don’t get it right first time then on your second time round you can tighten these lines. The key to cutting in is choosing the right brush and not overloading with paint.
- How to patch fill properly?
When touching up paint the success of patching depends on how long the paint has been on the wall. If you need to fill you must remember that the filler is a different substrate material to plaster so care must be taken when patching in and rubbing back to help blend in as much as possible.
Following successful prep, filling, spot priming (if necessary) and painting you should be able to do a repair without it being noticeable. However, if the paint around the area has faded or aged and you apply brand new paint to the wall there will be a noticeable imbalance. In some cases it’s better to repair and repaint the entire wall or ceiling section for a higher standard of finish.
The type and style of filler is also a key factor in patching in as some fillers can flash through paint layers more than others. Do your research and select the filler that best suits your specific area.
- What is the easiest way to paint a ceiling?
When painting a ceiling the first thing you need to do is ensure that all of your soft furnishings and anything below the ceiling is fully protected. After everything has been covered begin with the preparation process. Once everything is ready and the coving (if any) and the ceiling have been filled and sanded you can start to paint.
I would suggest you start with the coving, going approximately ½ an inch below the edge to ensure that when you cut in you will have a crisp white underside to establish your line. Once you have brushed the entire coving and cut into the ceiling you are ready to start rolling from one edge out. Always ensure you roll sustaining a wet edge and evenly roll out the paint leaving no tramlines or lap marks.
- Why is the paint on my radiator yellowing? How can I prevent this?
Oil based gloss is most likely the cause of yellowing on radiators. If oil-based paints are not subjected to enough UV light the solvents will turn yellow over time. One way to avoid this from happening is to use a water-based paint instead of oil based, however it is important to remember to use the correct adhesive primers before applying the paint and to always check the manufacturer guidelines before starting.
- How to choose the right paint brush size?
When choosing your paint brushes it is important to establish what you will be using the brush for and what type of material you will be using it in. Once you have thought about this choosing the right brush becomes instantly easier.
For example, if you are carrying out detailed or complex work then you would benefit from using a brush with a small narrow head which gives you excellent control and allows you to complete fine details. However, if you are painting one large area then it would be beneficial to use a large brush that holds significantly more paint. Natural bristle brushes are ideal for use in oil and solvent based paints whereas synthetic bristles are more suited to emulsion and water-based paints.